
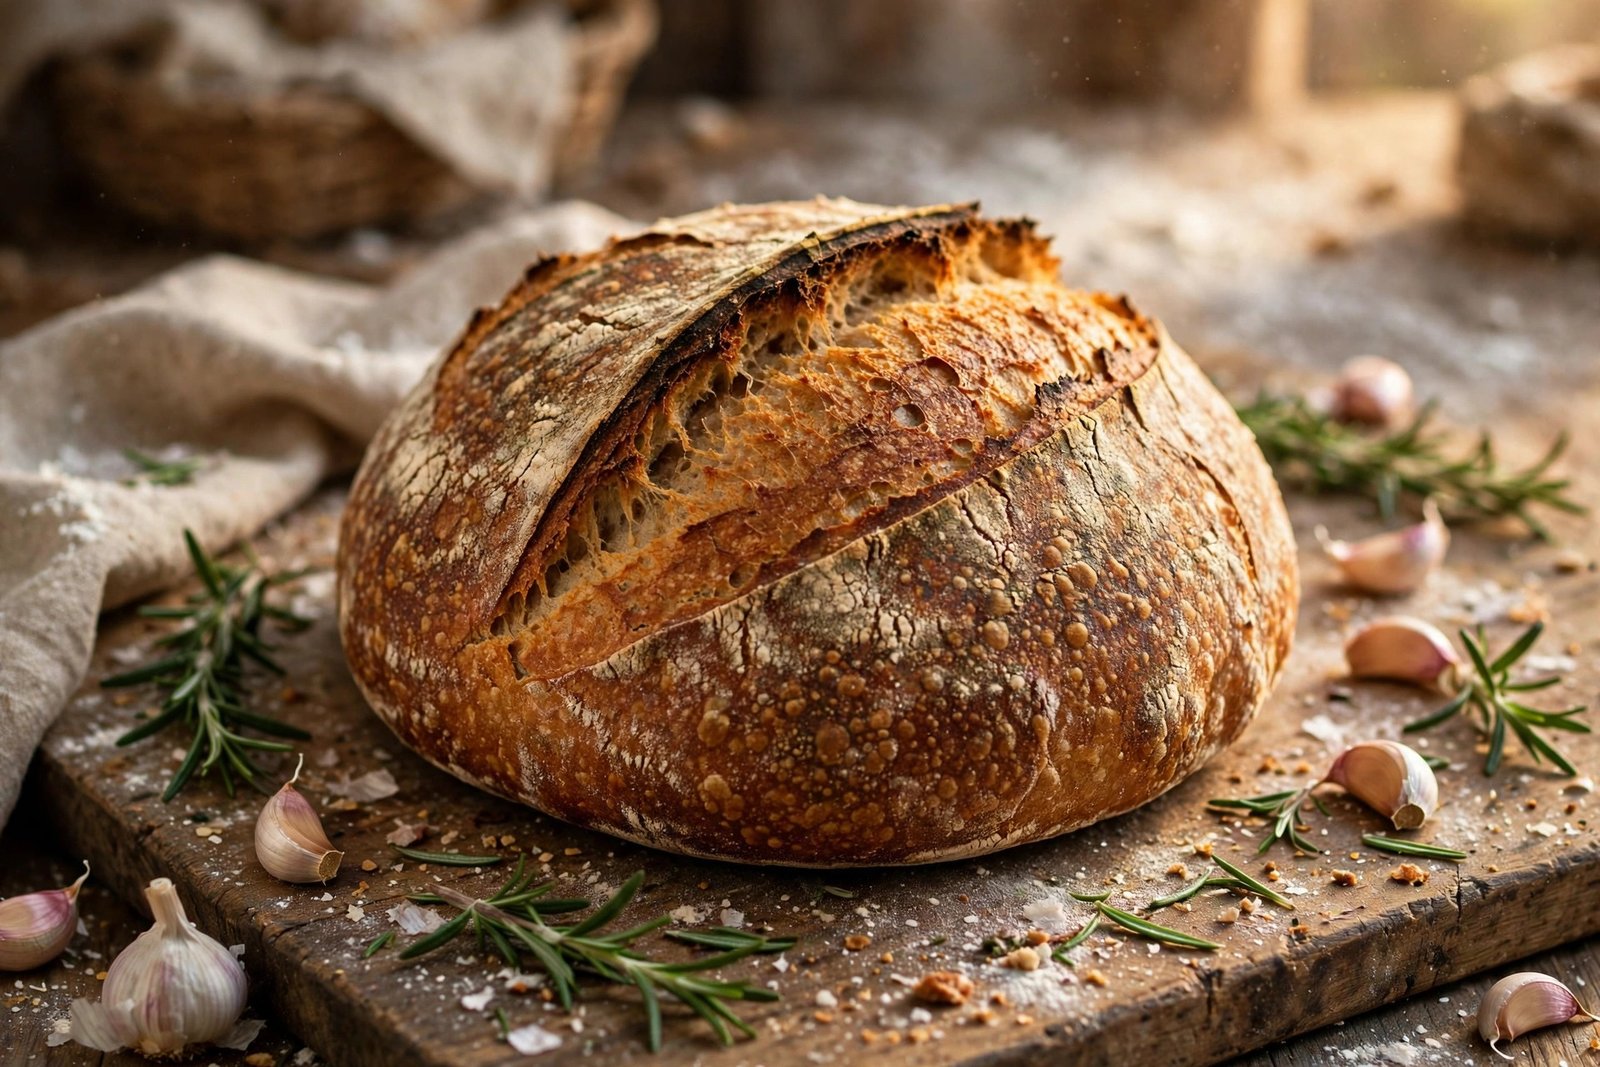
There is nothing — nothing — like the smell of fresh bread baking in your own oven. The crackle of the crust as it cools. The steamy, chewy crumb. And when that bread is studded with rosemary and garlic, with a crisp golden crust that shatters when you tear into it, you will wonder why you ever bought a loaf from the store.
Rustic No-Knead Rosemary Garlic Bread is artisan sourdough without the intimidation. No kneading, no stand mixer, no special skills — just mixing, a few gentle folds, and patience while time and fermentation do all the real work. The result is a bakery-worthy boule with a crackling crust, an open chewy crumb, and savory rosemary-garlic flavor in every bite.
If you have always wanted to bake sourdough but felt scared to start, this is your loaf.
Why No-Knead Sourdough Works
Traditional bread recipes make kneading sound mandatory. It isn’t. Given enough time, flour and water develop gluten on their own — the long, slow fermentation does the structural work that your hands (or a mixer) would otherwise do. A few gentle stretch-and-folds early on give the dough strength and structure, and then you simply let it be.
The overnight cold proof in the refrigerator is where the magic deepens: the slow, cold fermentation develops the complex, tangy sourdough flavor that makes artisan bread taste like artisan bread. Meanwhile, fresh rosemary and garlic infuse the entire loaf with savory aroma. You do almost nothing — and the bread rewards you enormously.
Recipe Overview
- Prep Time: 20 minutes (active)
- Bulk Fermentation: 4–8 hours at room temperature
- Cold Proof: 8–12 hours in the refrigerator (overnight)
- Bake Time: 45–50 minutes
- Total Time: 12–17 hours (mostly hands-off)
- Yield: 1 large rustic loaf
- Difficulty: Easy — no kneading required
Ingredients
- Active sourdough starter: 100g (bubbly and recently fed)
- Warm water: 350g
- Bread flour: 500g
- Fine sea salt: 10g
- Fresh rosemary: 2 tablespoons, finely chopped
- Garlic: 4–5 cloves, finely minced
- Olive oil: 1 tablespoon
- Honey or maple syrup: 1 teaspoon (optional — feeds the fermentation)
- Extra flour: for shaping and dusting
Starter check: Your sourdough starter must be active — fed within the last 4–12 hours, bubbly, and able to double in size. A sleepy, unfed starter will give you a dense, sad loaf. When in doubt, do the float test: a spoonful of starter should float in water.
Step-by-Step Instructions
Step 1: Mix the Dough (No Kneading!)
In a large mixing bowl, add the 100g active starter and 350g warm water. Stir until the starter is mostly dissolved. Add the 500g bread flour, 10g salt, chopped rosemary, minced garlic, olive oil, and honey (if using). Mix with a wooden spoon or your hands until all the flour is hydrated and a rough, sticky, shaggy dough forms.
Stop there. Do not knead. The dough will look messy and rough — that is exactly right. Time will smooth it out.
Step 2: Rest 30 Minutes
Cover the bowl with a clean kitchen towel or plastic wrap and let it rest at room temperature for 30 minutes. This rest (the autolyse) lets the flour fully hydrate.
Step 3: Gentle Stretch-and-Folds
Wet your hands (prevents sticking). Grab one side of the dough, stretch it gently upward, and fold it over the center. Turn the bowl a quarter-turn and repeat — 3 to 4 folds total around the bowl. Cover and rest 30 minutes.
Repeat this process 2–3 more times, every 30 minutes. You’ll feel the dough transform: from shaggy and slack to smoother, stronger, and more elastic with each round.
Step 4: Bulk Fermentation
Cover the bowl and let the dough ferment at room temperature until noticeably puffy and increased in size by roughly 50–75%. Depending on your kitchen temperature and starter strength, this takes 4–8 hours.
Watch the dough, not the clock. Look for bubbles around the sides and bottom of the bowl, and a dough that feels airy and slightly jiggly when you nudge the bowl. A cold kitchen slows everything down; a warm one speeds it up.
Step 5: Shape the Loaf
Lightly flour your work surface and gently turn the dough out. Shape it into a round boule: fold the edges toward the center, flip it seam-side down, and gently pull the dough toward you on the counter to create surface tension — that tight “skin” is what gives you a beautiful round loaf.
Be gentle — don’t press out all the beautiful air bubbles you spent hours creating. Place the shaped loaf seam-side up into a well-floured banneton basket, or a bowl lined with a heavily floured kitchen towel.
Step 6: Cold Proof Overnight
Cover and refrigerate for 8–12 hours, ideally overnight. This slow, cold fermentation is where deep sourdough flavor develops. Don’t skip it — it’s the difference between good bread and great bread.
Step 7: Preheat the Dutch Oven
Place your Dutch oven with its lid into the oven and preheat to 450°F (230°C) for at least 30–45 minutes. A screaming-hot Dutch oven is non-negotiable — it’s what creates the burst of steam for oven spring and that crackling crust.
Step 8: Score the Bread
Carefully turn the cold dough out onto a piece of parchment paper. Dust lightly with flour if you like the rustic look. Using a sharp bread lame or razor blade, make one confident deep slash across the top — about ½ inch deep. Add a few smaller decorative cuts if you’re feeling artistic. Cold dough scores much more cleanly than room-temperature dough.
Step 9: Bake
Using the parchment as a sling, lower the dough into the hot Dutch oven. Cover with the lid and bake for 25 minutes. Then remove the lid, reduce the oven to 425°F (220°C), and bake 18–25 minutes more, until the crust is deeply golden brown. For an extra-dark, extra-crispy crust, give it a few more minutes — color equals flavor.
Step 10: Cool Completely
Transfer the loaf to a wire rack and let it cool for at least 1 hour before slicing. I know — the hardest step. But cutting too early releases steam that should stay inside, leaving you with a gummy crumb. Let it finish.
Tips for the Best Loaf
- Active starter or bust. A weak starter is the #1 cause of dense sourdough. Feed it and confirm it’s bubbly and doubling before you begin.
- Don’t overdo the garlic. Fresh garlic adds moisture that can interfere with fermentation. Stick close to the recommended amount.
- Try roasted garlic. For a sweeter, mellower flavor, roast the garlic until soft and golden, cool completely, then squeeze it into the dough.
- Room temperature matters. A cold kitchen (below 68°F/20°C) can double fermentation time. Find the warmest spot in your house.
- Flour your banneton generously. Rice flour works even better than wheat flour for preventing sticking.
- Don’t fear the dark crust. A pale loaf is an underbaked loaf. Deep golden brown (almost mahogany) is the target.
How to Serve It
This loaf is a meal in itself, but it shines alongside:
- Salted butter — thick slices, still slightly warm
- Olive oil + balsamic vinegar — for dipping
- Soup or stew — the ultimate dunking bread
- Scrambled or fried eggs — breakfast of champions
- Cheese and charcuterie boards — the rosemary-garlic flavor pairs beautifully
- Toasted — with butter, the rosemary and garlic wake right back up
Storage
Room temperature: Keep the cooled loaf in a paper bag or wrapped loosely in a clean kitchen towel for 2–3 days. Never store fresh crusty bread in plastic — it turns the crust soft and leathery.
Freezing: Slice the loaf and freeze slices in an airtight freezer bag for up to 3 months. Toast directly from frozen — it tastes freshly baked.
Reviving: Day-old bread crisps back up beautifully: spritz with water and bake at 350°F (175°C) for 5–10 minutes.
Common Mistakes to Avoid
- Using an inactive starter. If your starter isn’t bubbly and doubling after feeding, your bread won’t rise properly.
- Skipping the Dutch oven preheat. A lukewarm pot gives you a pale, flat loaf. Full 30–45 minute preheat, every time.
- Cutting too soon. Slicing hot bread = gummy crumb. Wait the full hour.
- Underbaking. Fear of burning leads to pale, doughy bread. Go for deep golden brown.
- Over-flouring during shaping. Too much raw flour creates dense streaks in the crumb. Use just enough to prevent sticking.
- Rushing fermentation. Underproofed dough is dense; watch for the 50–75% rise and jiggle, not just the clock.
Approximate Nutrition
Per serving (1 thick slice, loaf makes about 12 slices): approximately 180 calories, 6g protein, 1.5g fat, and 36g carbohydrates. Estimates based on standard ingredient values.
Frequently Asked Questions
Can I make this without a sourdough starter?
This specific recipe relies on sourdough starter for flavor and rise. For a yeasted version, replace the starter with 7g instant yeast and 100g extra flour + 60g extra water, and shorten the bulk ferment to 1–2 hours.
Why is my bread dense?
The most common causes: inactive starter, underproofed dough (didn’t rise 50–75%), or a cold kitchen slowing fermentation. Give it more time.
Can I use dried rosemary?
Fresh is much better here — dried rosemary can be woody and harsh. If you must, use 2 teaspoons dried instead of 2 tablespoons fresh.
Do I need a banneton basket?
No — a bowl lined with a heavily floured kitchen towel works fine. The banneton just gives prettier rings.
Can I bake without a Dutch oven?
You can, but the crust won’t be as good. Alternative: bake on a preheated baking stone/steel with a pan of boiling water on the rack below for steam.
How do I know when bulk fermentation is done?
The dough should be puffy, increased 50–75% in volume, with visible bubbles, and jiggle slightly when you shake the bowl. The poke test also works: a floured finger pressed in should spring back slowly, leaving a slight indent.
You May Also Like
If this rustic loaf got you baking, try our Viral Cabbage Boil for a hearty companion dish, or the Marinated Cucumber Salad for something fresh alongside. Browse the Recipes section for more.
Final Thoughts
Rustic No-Knead Rosemary Garlic Bread proves that extraordinary bread doesn’t require extraordinary effort. Mix, fold, wait, bake — and pull a crackling, golden, rosemary-scented boule from your own oven that rivals any bakery.
Once you bake your first loaf, you’ll never look at store-bought bread the same way again.